Editing interiorcad’s material database and adding new materials isn’t hard. Follow these steps to build up your own database of materials and forget about texturing and manual parts lists.
First of all, familiarise yourself with the material dialog. Let’s start with the database of board materials. From the main menu, choose interiorcad → Master Data → Edit Boards…
This will open the Edit Boards dialog. Let’s find Chipboard-Beech-19 and look at the settings for it:
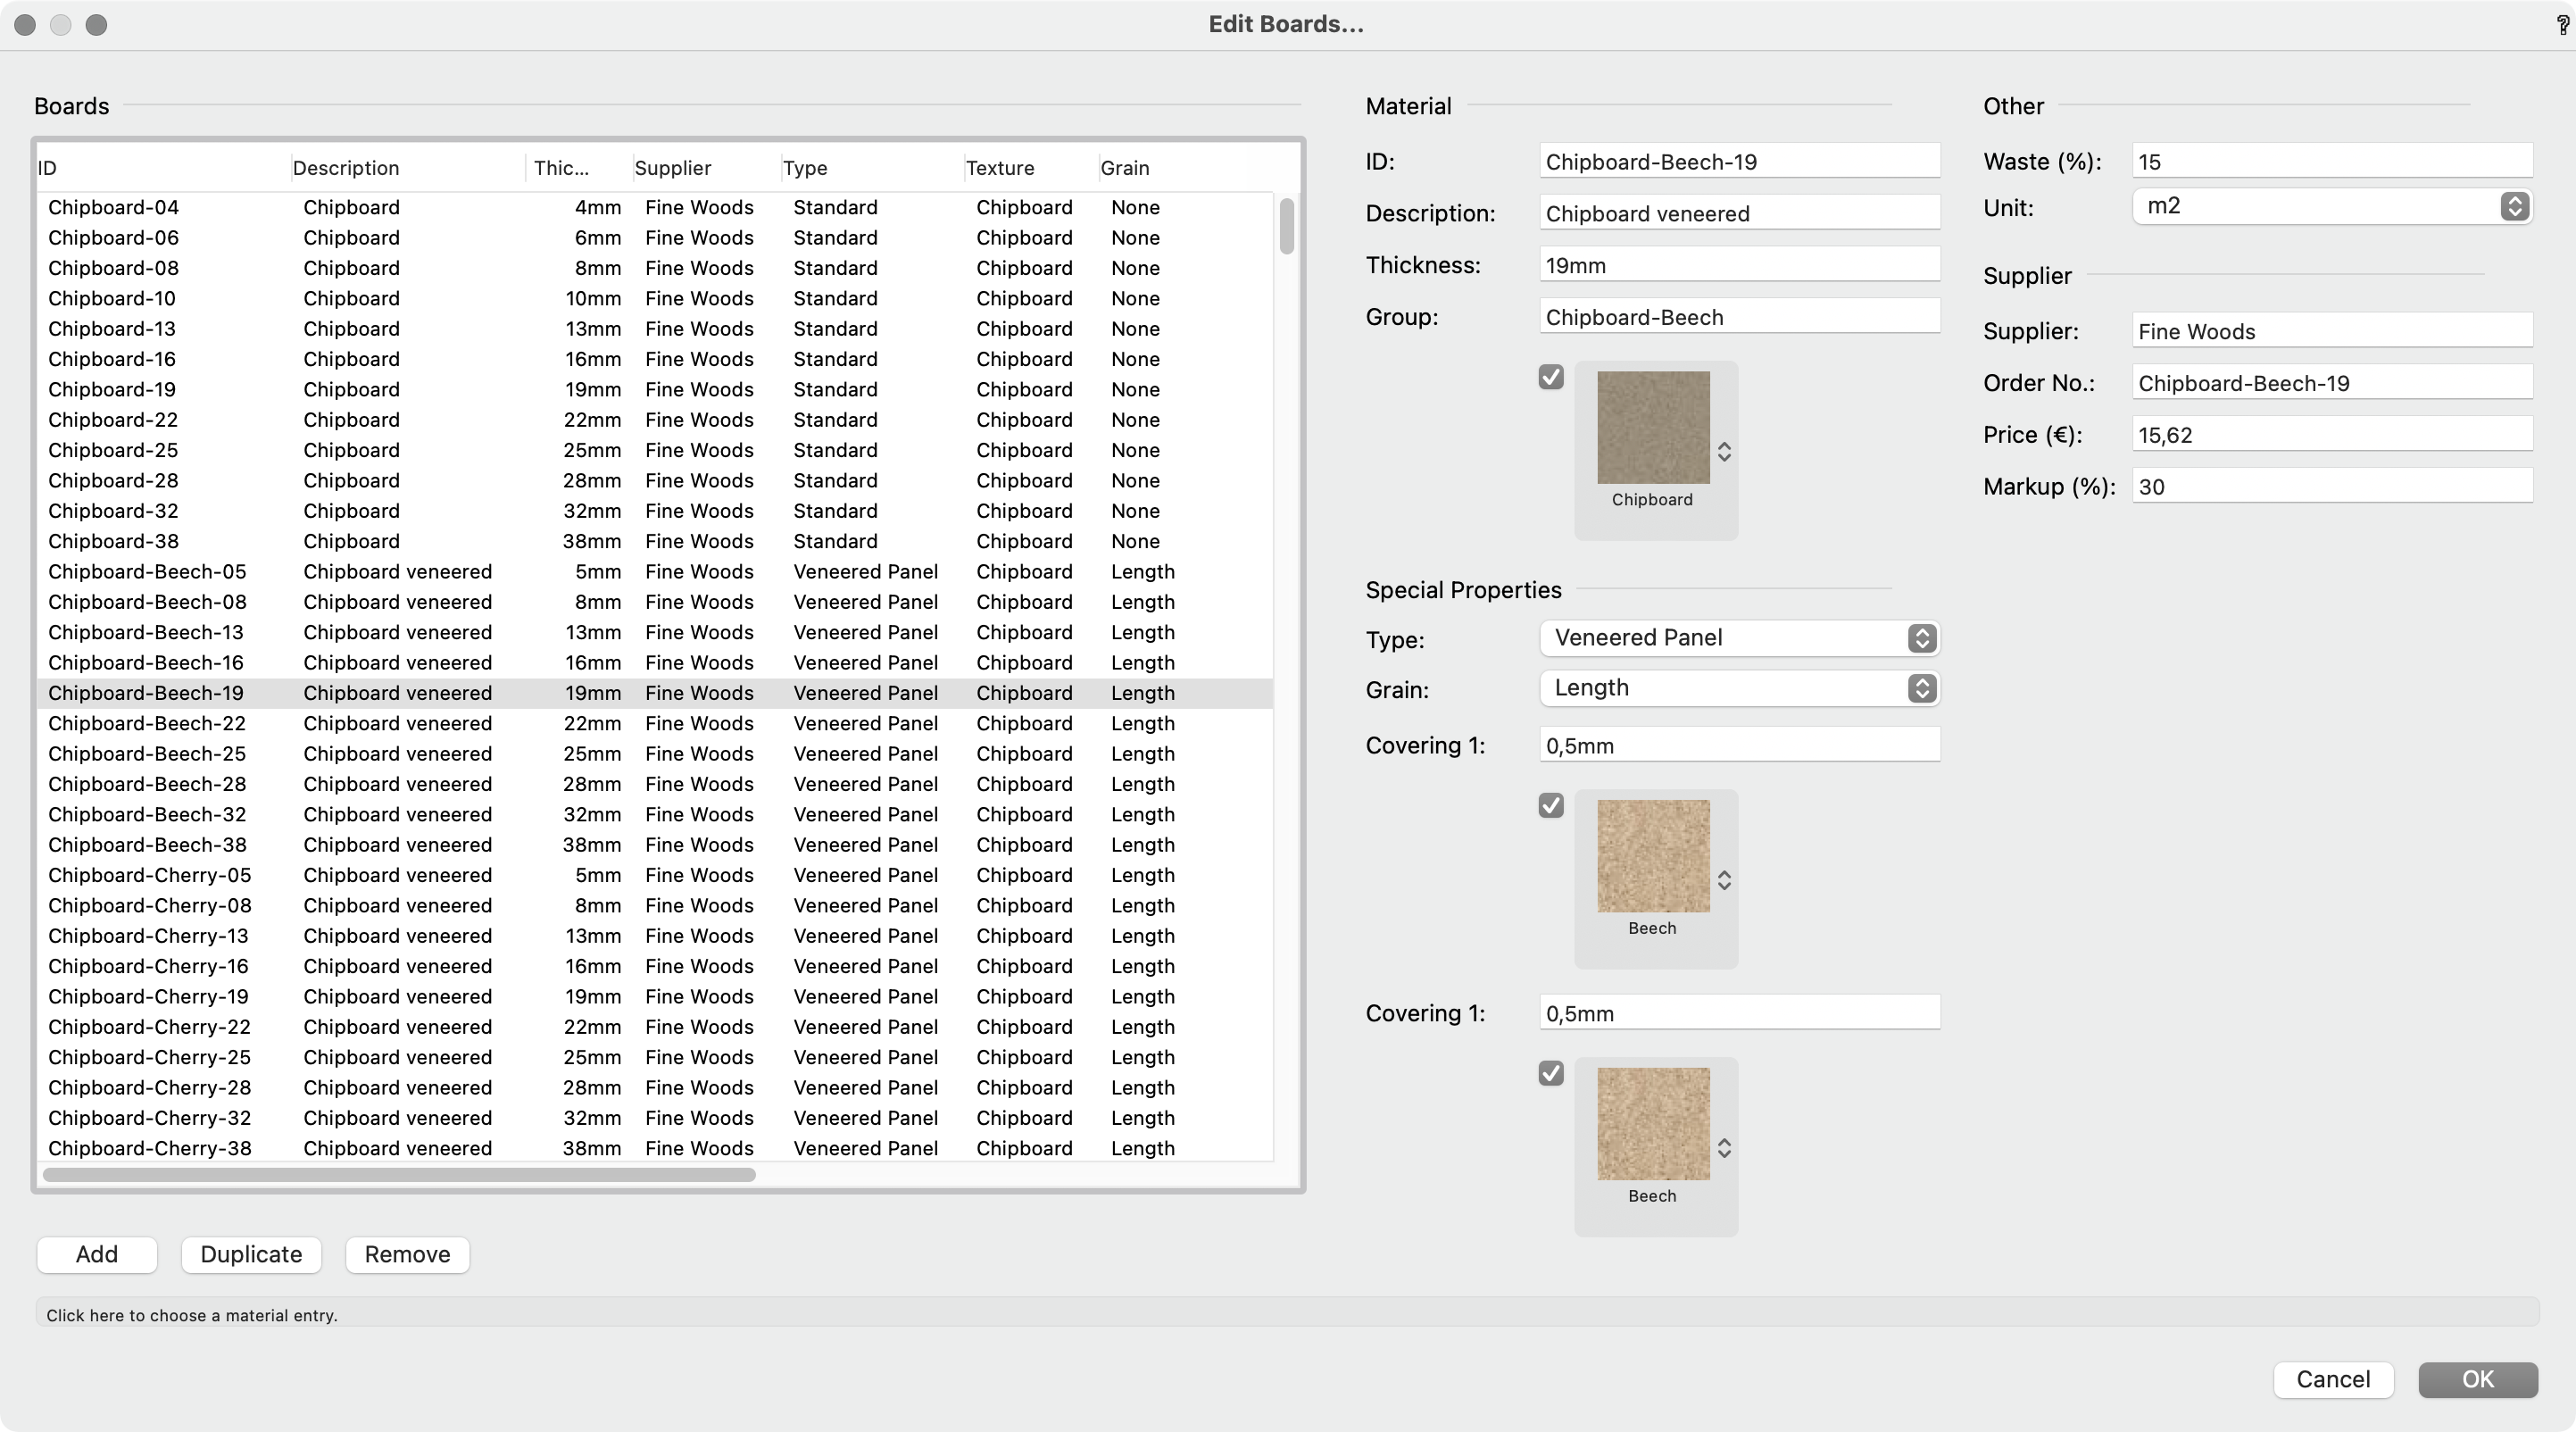
There are seven columns in the list browser. Let’s quickly look at each column:
| ID | What you will find in your cut list |
| Description | A free description. Not included in the cut list but can be added using the placeholder [BoardDescription] . |
| Thickness | The physical thickness of the modelled 3D object that uses the material. |
| Supplier | Used for ordering. Can be added to the cut list using the placeholder [BoardSupplier] . |
| Type | There are seven types of materials with three distinct properties. See below for a detailed explanation. |
| Texture | The Renderworks texture that is mapped to the parts using the material |
| Grain | The grain direction. This will rotate with the Renderworks texture and the part’s dimensions (length ↔ width) |
On the opposite side, you can set up your material to behave correctly, depending on the type of material.
The first parameter you are likely wanting to change is the thickness. Since the presupplied database is converted from German standards, it still has the 19mm thickness that we use over here. So, change it to 18mm or whichever thickness you require.
You can ignore the ‘Group’ input field. It is a legacy field which is still needed for the ‘Classic’ 32bit cabinet but it will soon go away. It may prevent you from saving a newly created material by disabling the OK button. Should this happen, just enter a new text string that has not been used before.
The texture popup lets you choose the Renderworks texture used for the core material. Since we are looking at a veneered board, we need three different textures, one for the core material and one each for each side, which could, in theory, be different). This FAQ explains where to store your textures so thy can be found by interiorcad’s material database.
It is important to know the differences between the material types under ‘Special Properties’. A RAW material such as MDF or chipboard will likely be veneered or covered with HPL or coated. Plus, unless it’s coated, it will most likely receive some form of edge banding. Its thickness is fixed but any covering will be added on. So, if you use an 18mm chipboard sheet and you apply a 0.5mm covering either side, you will end up with a 19mm thick material.
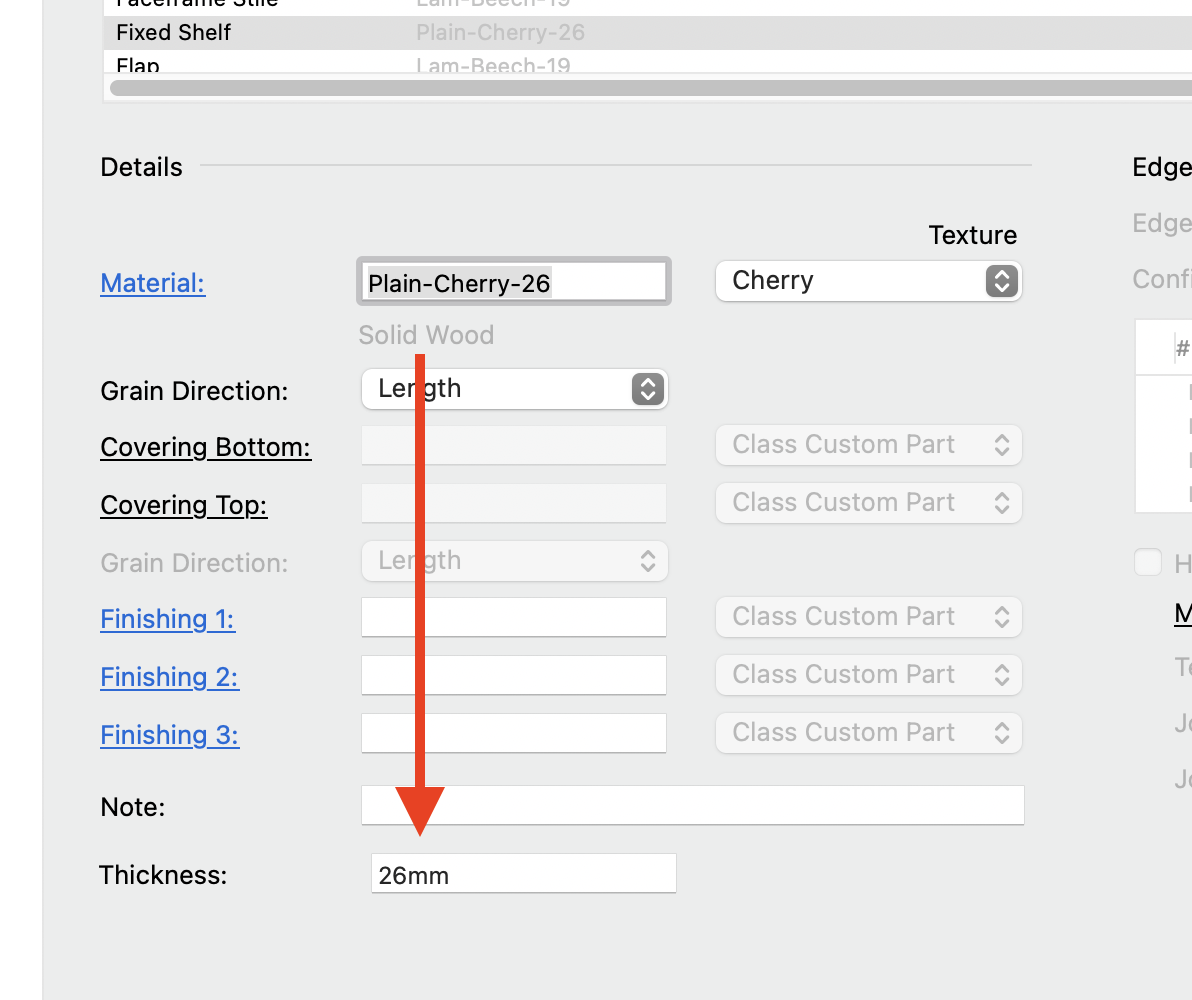
A SOLID material will not be able to receive any kind of covering or edge banding. Its thickness can be set freely in the Object Info Palette or the ‘Construction’ dialog of custom parts or cabinet objects.
FINISHED materials can not be covered separately but can receive textures for the melamin faced layer (or veneer) of material, as well as a thickness. No matter what thickness you choose for the pre-laminated or pre-veneered material, it will not change the finished thickness of the material.
Here is a quick overview of these properties:
| Category | Type | Covering | Edgebd. | Thickn. |
| “Raw” | Standard | |||
| “Solid” | Solid Wood | |||
| Laminated Wood | ||||
| Plywood | ||||
| Glass | ||||
| “Finished” | Melamin Faced | |||
| Veneered Panel |
Finally, you can set the waste percentage, unit and price for each material. It will be used for costing and various lists that interiorcad generates for you.
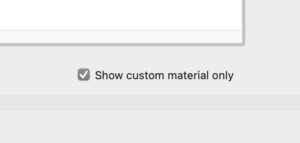
Once you have duplicated and edited a material (or made one from scratch), a checkbox will appear underneath the list to show only custom materials. This makes it much easier for you to manage your own library without seeing all the default materials.