
If you create new materials on the fly, you have probably wondered if there is a better place for the associated textures to be stored than the current document. Although there is nothing wrong with storing textures in a document, it creates problems as soon as you use a material that has a texture associated with it and it can’t find that texture. If you have run into this problem, this FAQ is for you.

If you’re using a material whose texture or textures can’t be found, interiorcad will search your entire Vectorworks- and user-folder (as well as your workgroup folder if you have set one up) for a matching texture.
You can easily avoid unknown textures by following these simple steps.
Before you enter a new material into interiorcad’s material database, create the accompanying textures. A material can have up to three different textures (but usually just one plus the material for the core material, which is likely to already exist). Say you want to enter a new melamin faced board by Egger. Let’s go for Sand Grey Glazed Halifax Oak (H1336 ST37).
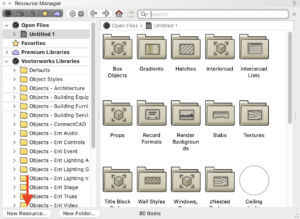
Make sure you have a blank document with nothing stored in the Resource Manager.
First, download the texture here. (You can register for free to get the high resolution texture without watermarks)
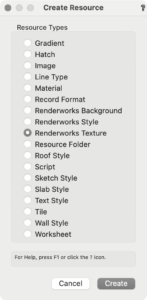
Then, create a new Renderworks texture. In the Resource Manager, click the button ‘New Resource’. From the ‘Create Resource’ dialog, choose ‘Renderworks Texture’.
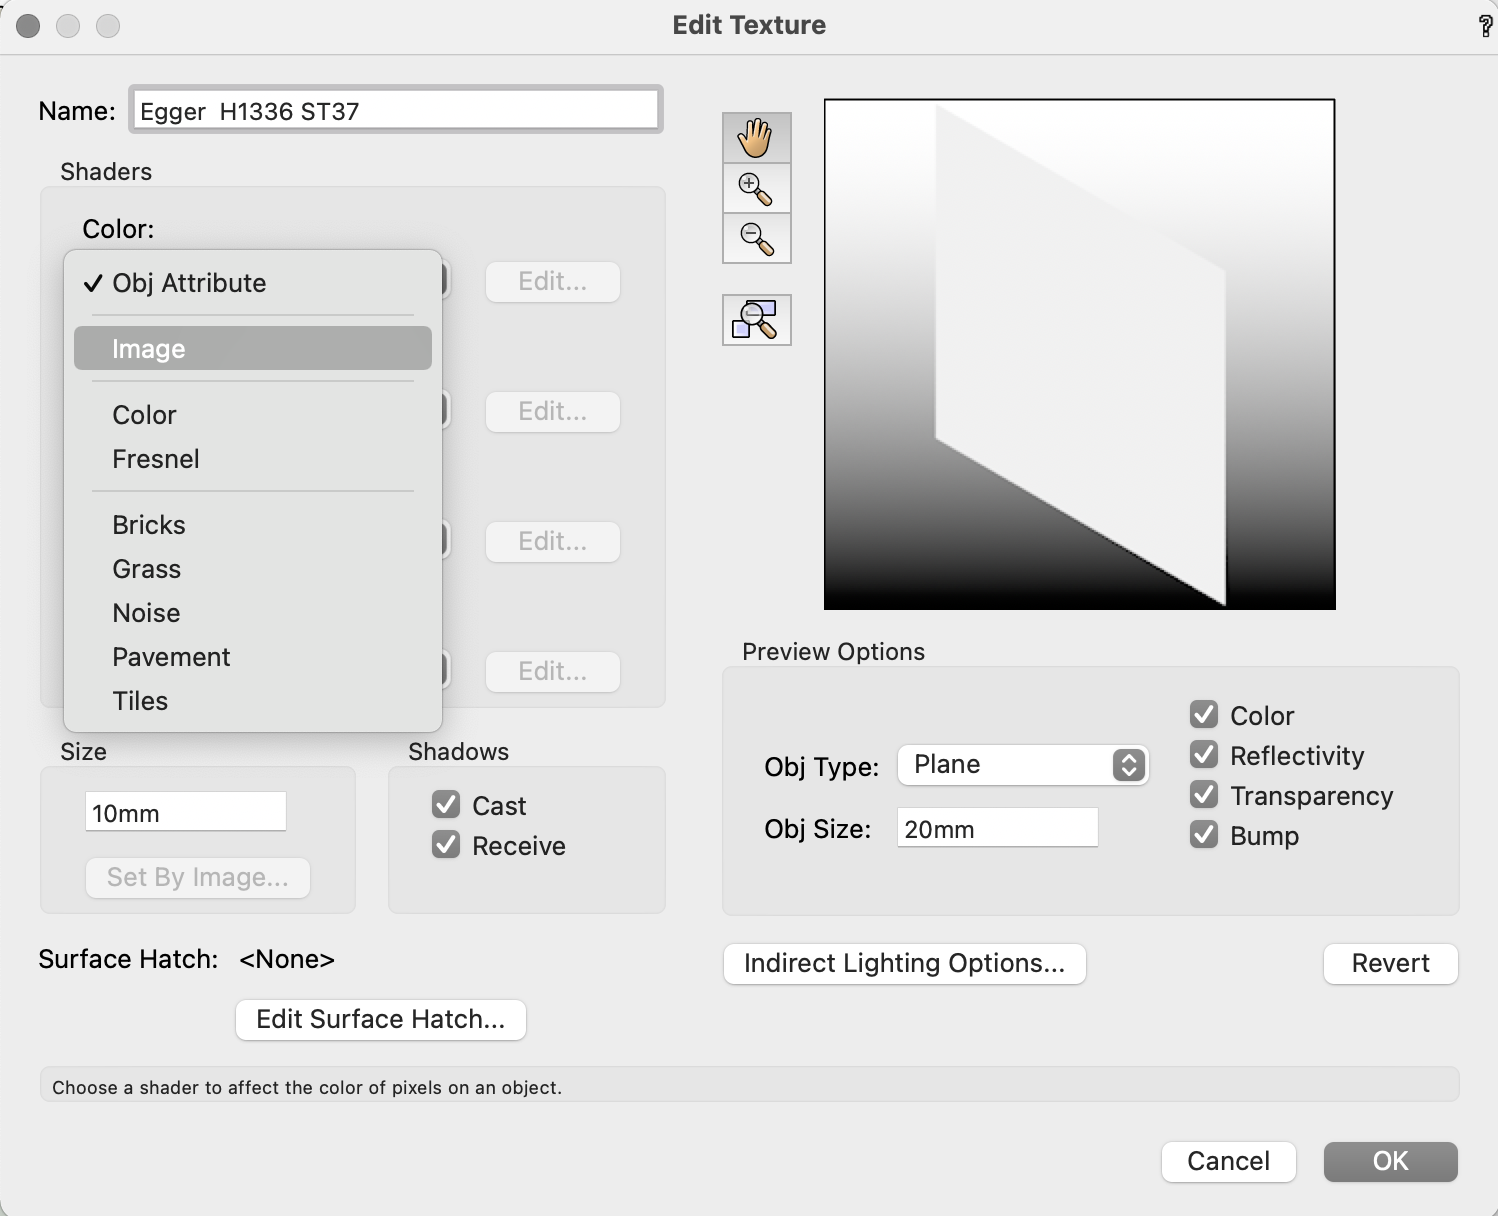
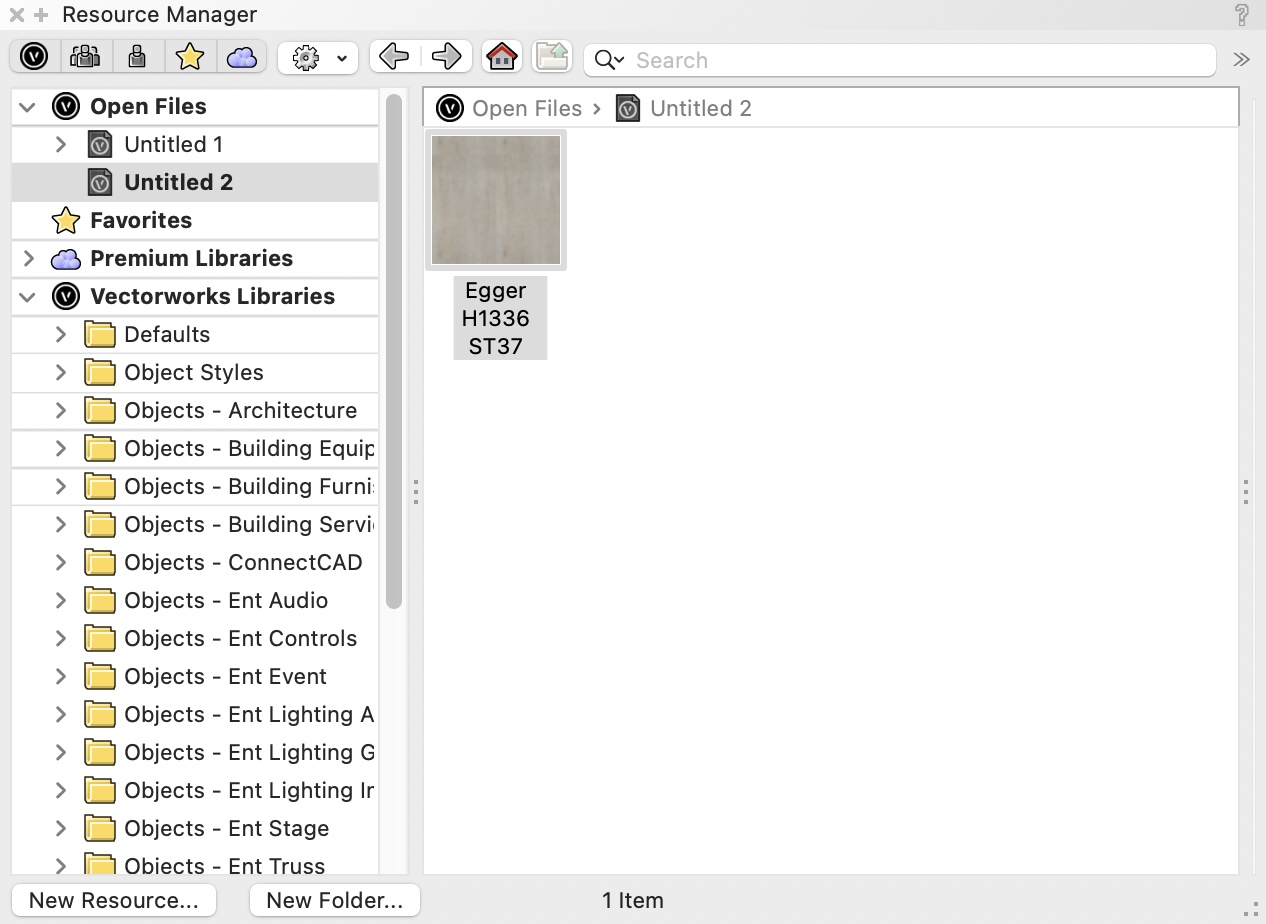
Name the texture ‘Egger H1336 ST37’ and, in the colour channel, choose ‘Image’. Choose ‘Import an Image’ and point to the image you downloaded.
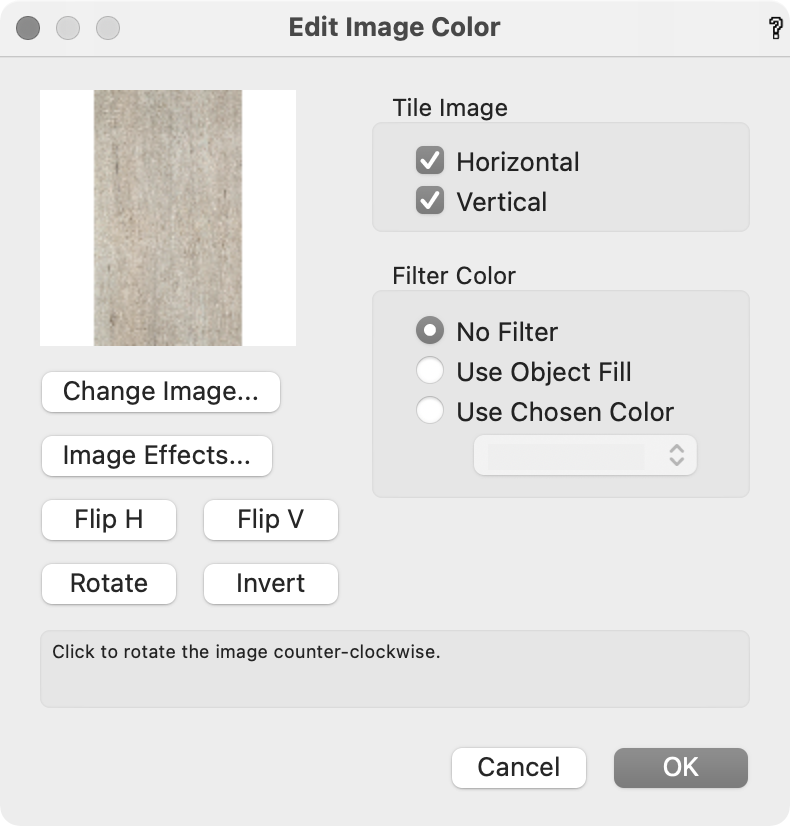
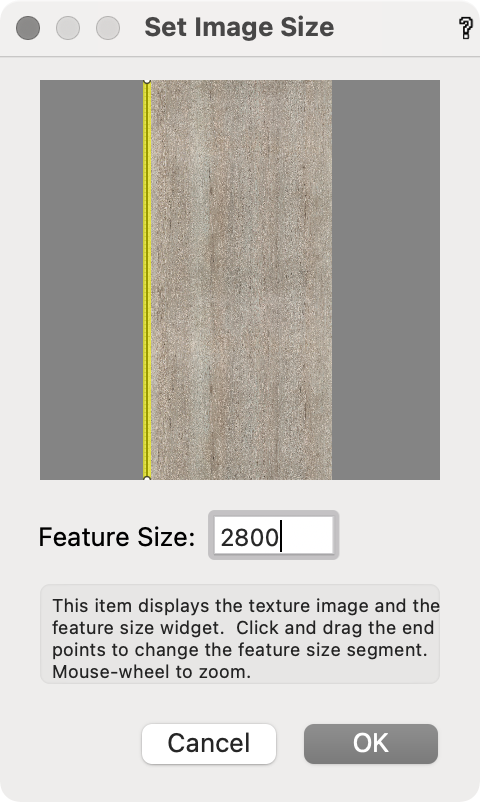
In the ‘Edit Image Color’ dialog, make sure that the texture runs upright. This is the default orientation for textures in interiorcad.
In the ‘Size’ group box, select ‘Set by Image’. Drag the line (it is usually hidden in the bottom left corner) to cover the entire length of the texture. Enter 2800mm for its length.
That’s the basics. Now, click OK. The texture has now been saved in the current document:
For now, the texture is only available in the current document. So if you want to use this texture with a new material and independently of this document, you need to save it in a directory where interiorcad can find it.
Saving the texture for general use
Choose File → Save.
The file needs to be saved in a folder inside your user folder. If you are on a Mac, point to
/Users/<User>/Library/Application Support/Vectorworks/2021/Libraries/Defaults/Renderworks - Textures
on Windows, point to
C:\Users\<User>\AppData\Roaming\Nemetschek\Vectorworks\2021\Libraries\Defaults\Renderworks - Textures
Make sure you create a new folder there, called ‘interiorcad’ (without the quotes, all lower case).
Save the document. Any name is fine.
Close the document and open a new blank document.
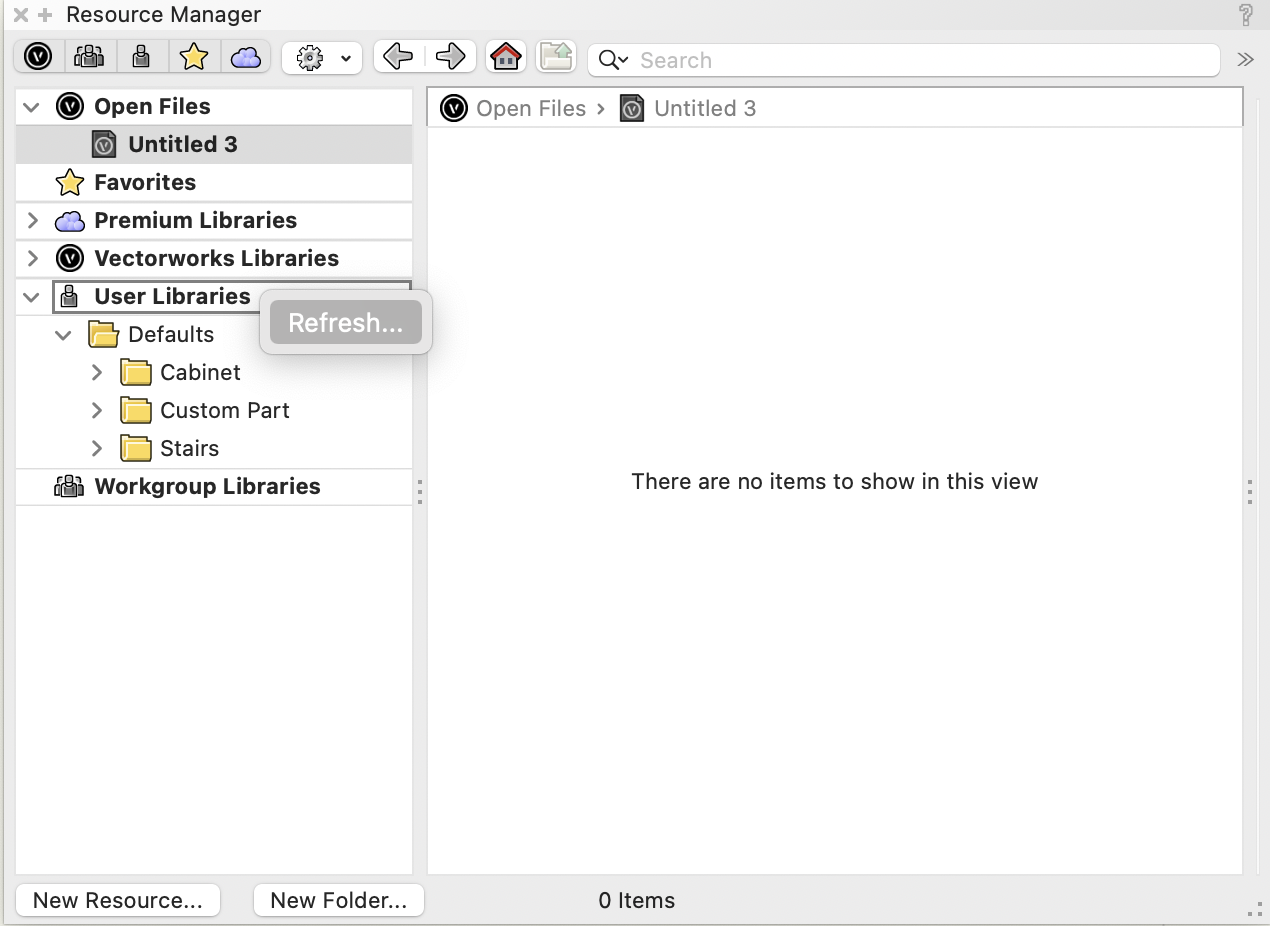
In the Resource Manager, right-click the User Libraries header and choose ‘Refresh…’
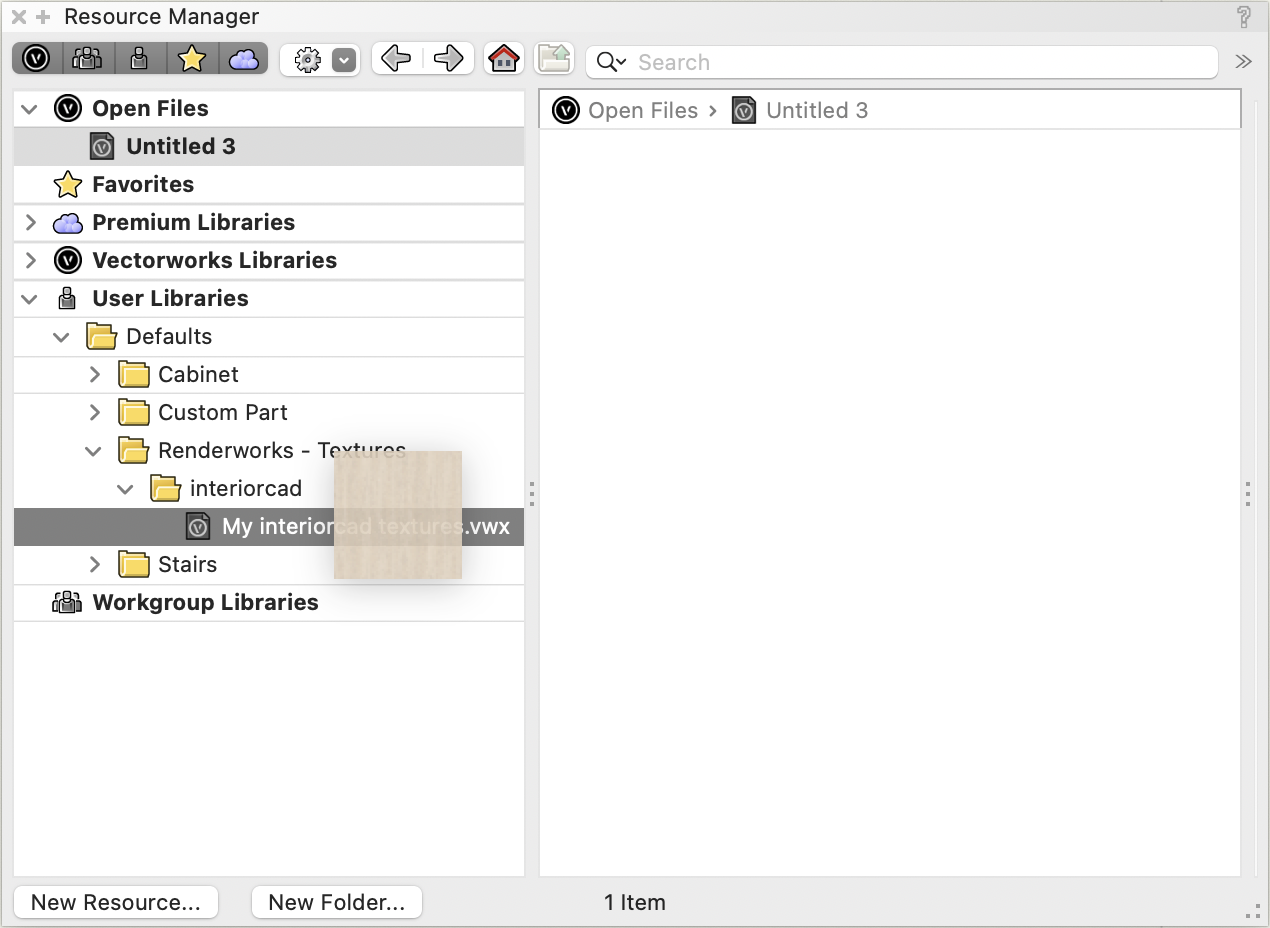
The folder tree will reload and collapse but when you reopen it, you can see the new library document. You can now drag any new texture that you have created onto the file icon.
The next step is to create a material.
Creating a new interiorcad material
We’ll be looking at creating a new board material but the same steps apply to coverings and edge banding materials as well. Choose interiorcad → Master Data → Edit Boards…
Click ‘Add’ at the bottom left. Populate the right half of the dialog with the new Egger material. Now, let’s set up the textures. We’ll begin with the core material. Since we want a chipboard texture for this, it’s easy. Just choose or search for ‘Chipboard’ in the resource selector (make sure to press enter as this is not a live search field) and assign it to the core material.
Note that his is a pre-supplied texture. It ships with interiorcad as a standard. Hence, it is taken from the application folder. You cannot modify the application folder resources but you can use these resources for your own materials. That is what they are intended for.
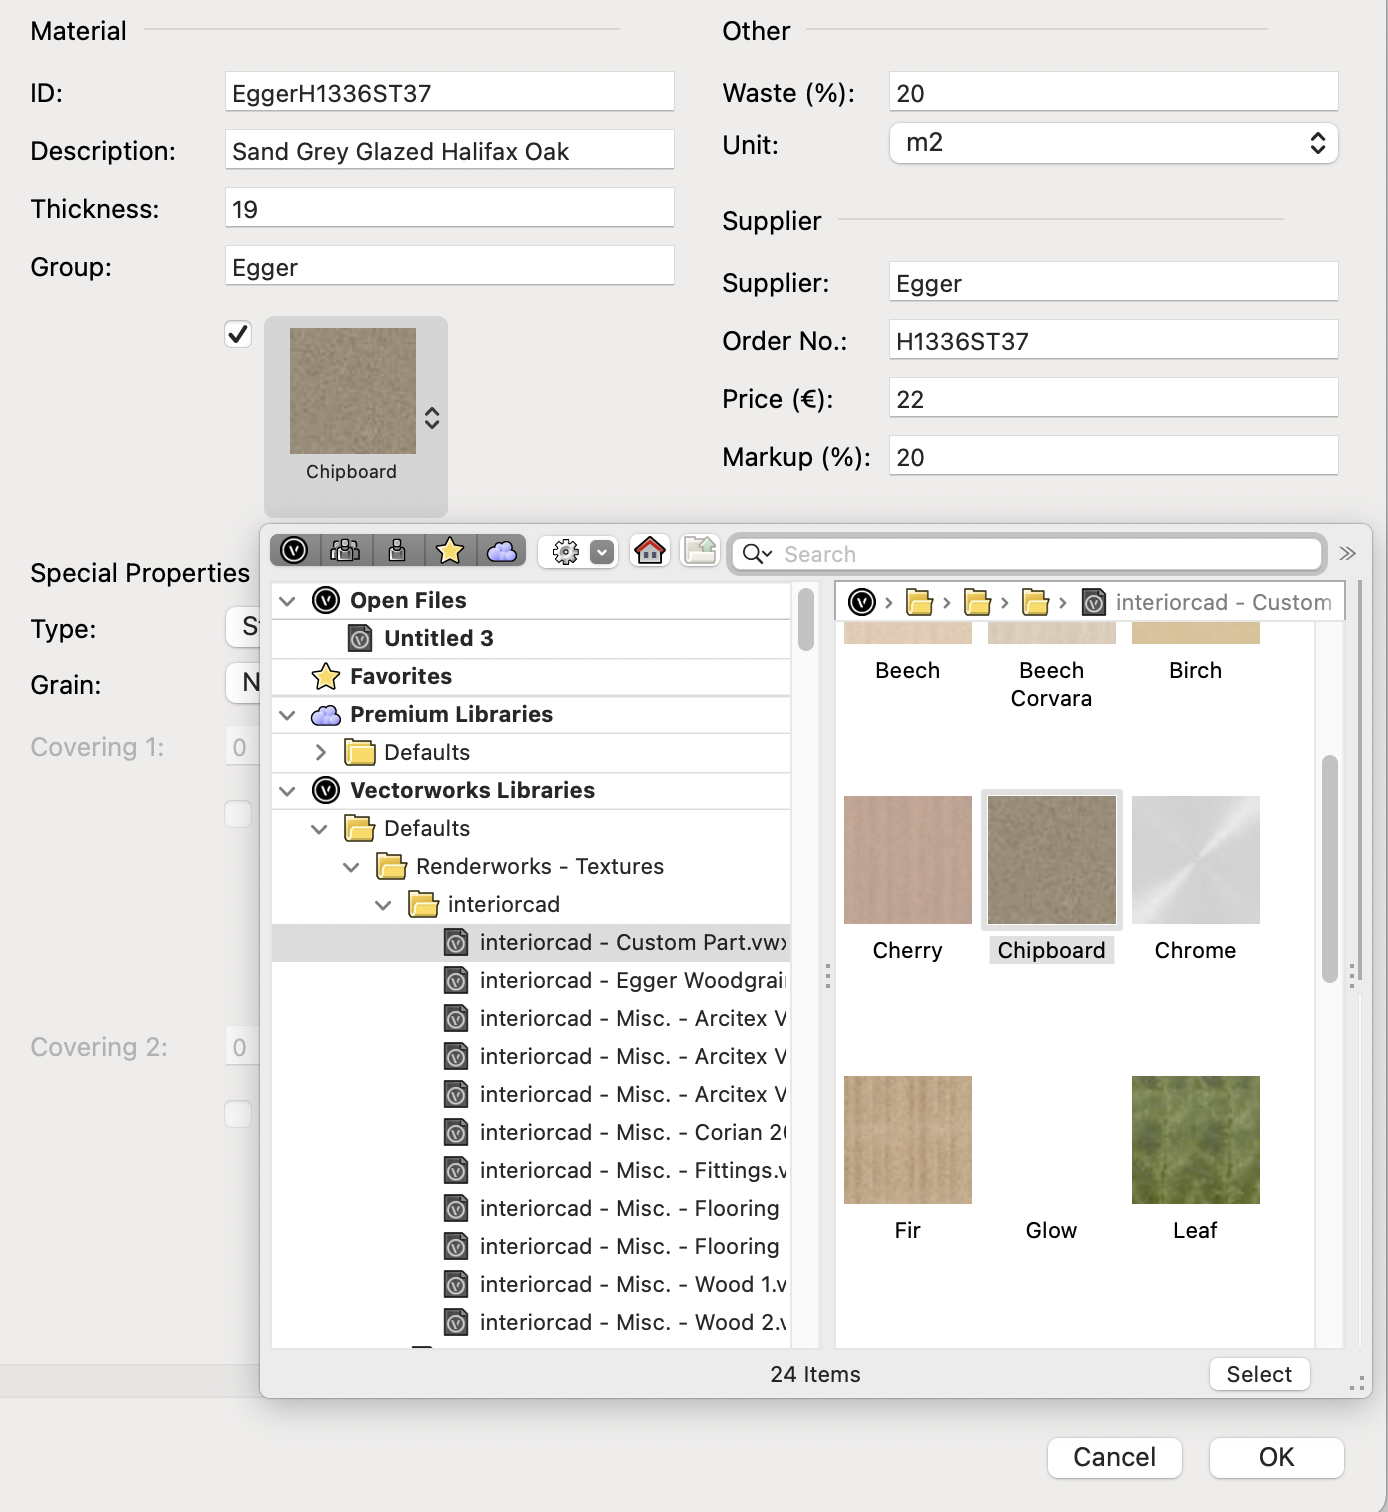
Next, let’s assign the texture to the outside faces of the material. You will notice that the texture selector is disabled. That’s because the material type is still ‘Standard’ We will need to make it ‘Melamin Faced’. Once we have done this, we are allowed to choose a texture. Leave the grain running lengthwise and make sure the thickness is not zero (it is 0.1mm by default, which is fine).
If it looks like the finishing thickness is zero, you may have your decimal precision set too low. Go to File → Document Settings → Units and make sure it’s at least one decimal place .
Now, open the texture selector and navigate to your user libraries. Find your texture document and choose the new Egger texture you just created.
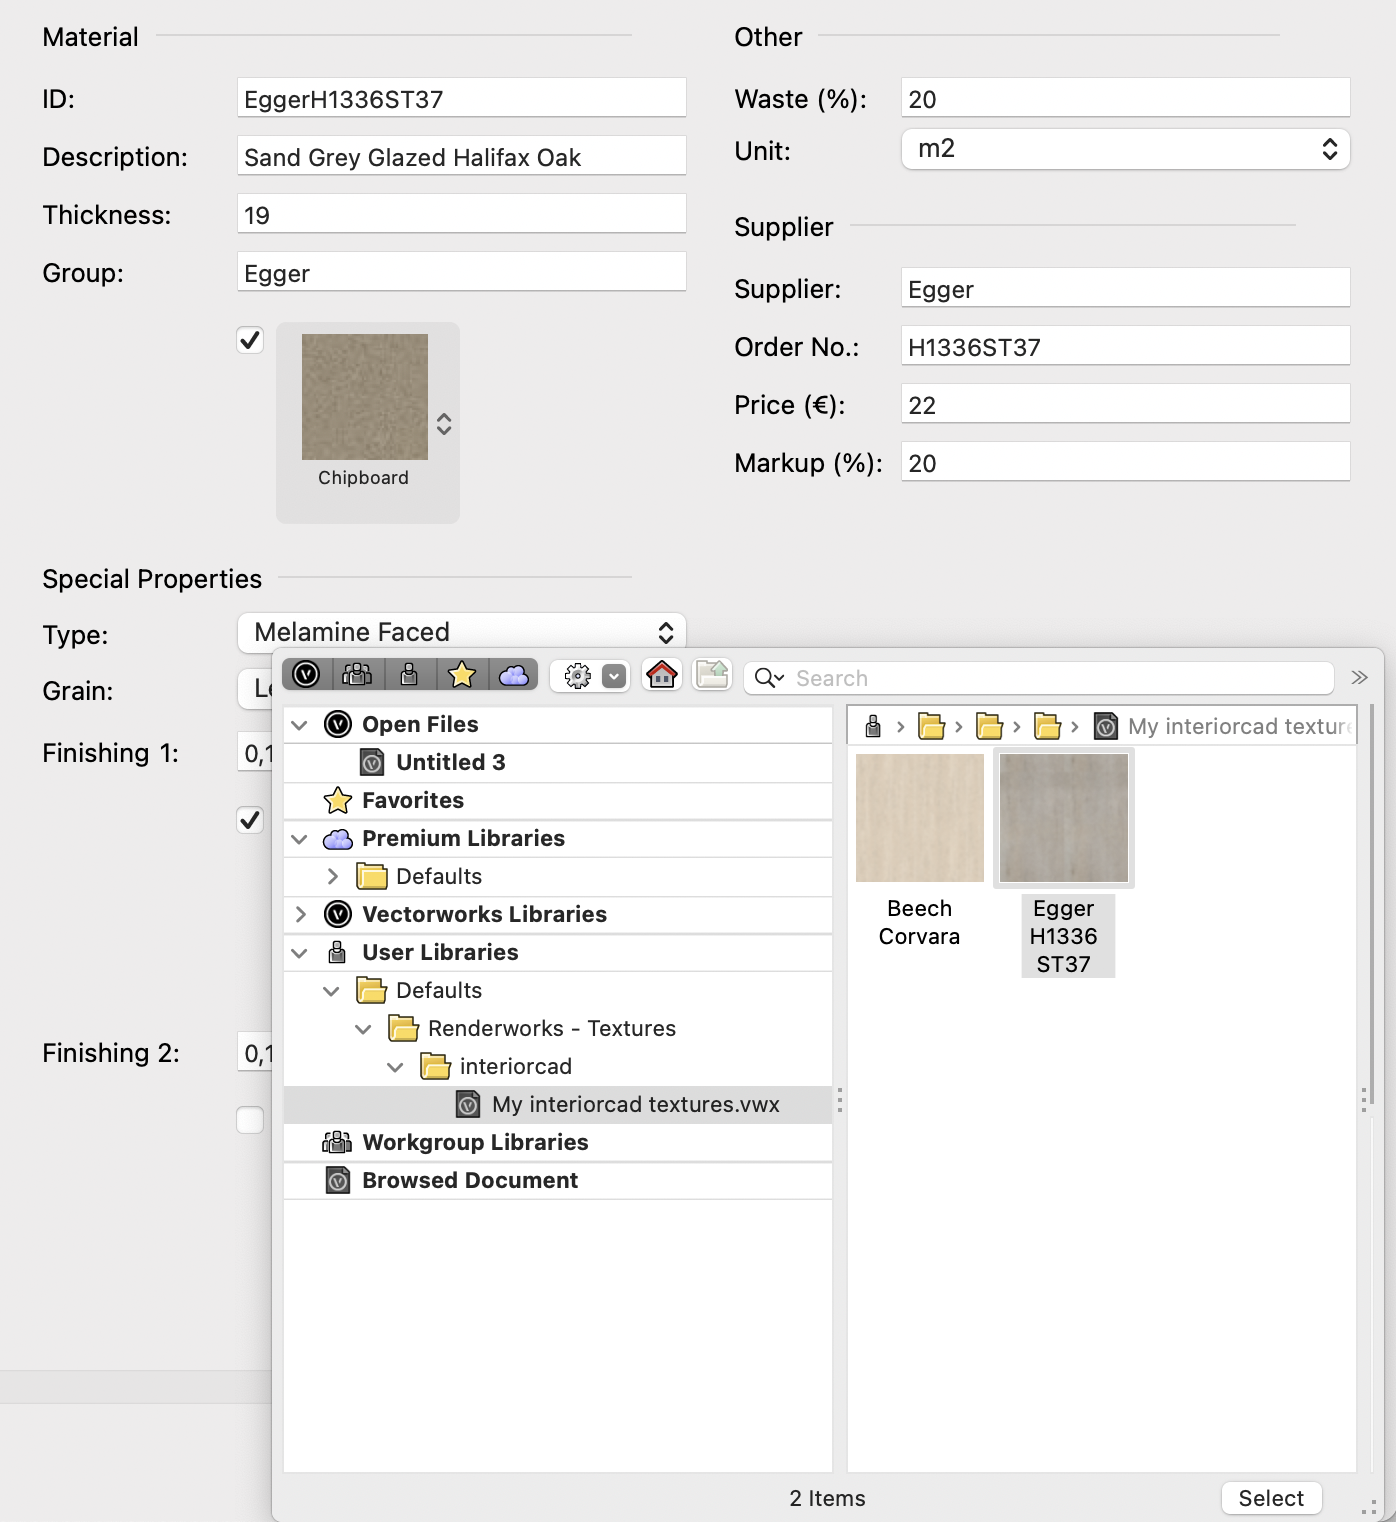
Repeat for the opposite side. That’s it. The new material can now be used from any document. interiorcad remembers where the texture came from and will use it for this material. Once you have used it in a new document, it will be taken from the local document library and not be imported each time you assign the material.